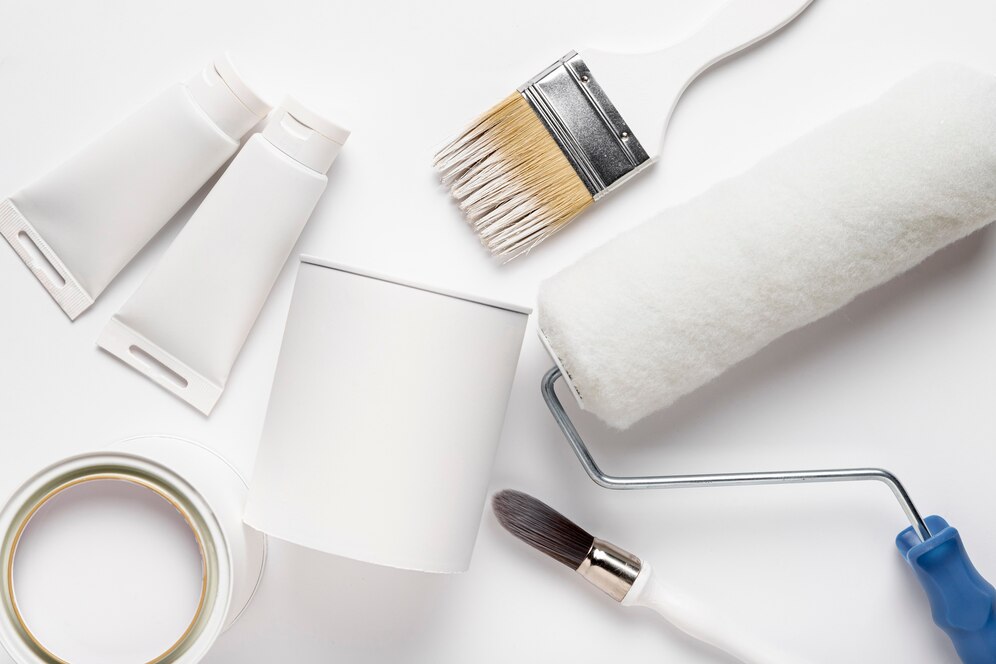
When it comes to painting a room, the order in which you paint can significantly impact the final result. One common question is whether you should paint the edges of a wall first. The short answer is yes, and here’s why.
Why Paint the Edges First?
Precision and Clean Lines:
- Better Control: Using a brush to paint the edges first, a technique known as “cutting in,” allows for greater control. This ensures that you can carefully navigate around corners, trim, and the ceiling line.
- Sharp Edges: By cutting in first, you create a clean border that the roller can blend into, resulting in sharp, professional-looking edges.
Avoiding Mess and Overlap:
- Prevents Splatter: Rolling paint can sometimes cause splatters. By cutting in first, you can avoid getting paint on areas you don’t want to be covered, like the trim or ceiling.
- Seamless Blend: Painting the edges first allows the rolled paint to blend smoothly into the brushed areas, avoiding visible overlap lines.
How to Paint the Edges
Step-by-Step Process:
- Preparation:
- Clean and Tape: Clean the walls to remove dust and dirt. Use painter’s tape to mask off trim, baseboards, and the ceiling to protect them from paint.
- Gather Supplies: Use high-quality brushes designed for cutting in, which typically have angled bristles for better control.
- Cutting In:
- Load the Brush: Dip your brush into the paint, tapping off excess to avoid drips.
- Paint the Edges: Start at the top corner of the wall. Paint a 2-3 inch wide strip along the edges, carefully following the line of the ceiling, corners, and trim.
- Feather the Edges: Use smooth, even strokes to feather the paint slightly onto the wall. This will help blend the edges when you start rolling.
- Rolling the Walls:
- Load the Roller: Pour paint into a tray and evenly load your roller.
- Apply Paint: Start in the center of the wall and roll in a “W” or “M” pattern to evenly distribute the paint. Then fill in the gaps with horizontal strokes.
- Blend the Edges: Roll as close to the edges as possible, blending the rolled paint with the cut-in areas to create a seamless finish.
Tips for Success
- Maintain a Wet Edge: Work in sections and maintain a wet edge to prevent lap marks. This means overlapping your strokes slightly before the paint dries.
- Use Consistent Techniques: Apply consistent pressure and brush strokes when cutting in and rolling to ensure an even finish.
- Take Breaks: If you’re painting a large area, take breaks and step back to inspect your work. This helps catch any missed spots or drips before the paint dries.
Painting the edges of a wall first, or cutting in, is a crucial step for achieving a clean, professional finish. It allows for greater precision, prevents mess, and ensures that the rolled paint blends seamlessly into the edges. By following the proper techniques and tips, you can transform any room with a smooth and flawless coat of paint.

